Here's everything you need to know about signatures in Postbox!
Creating Signatures
To create a new signature, go to:
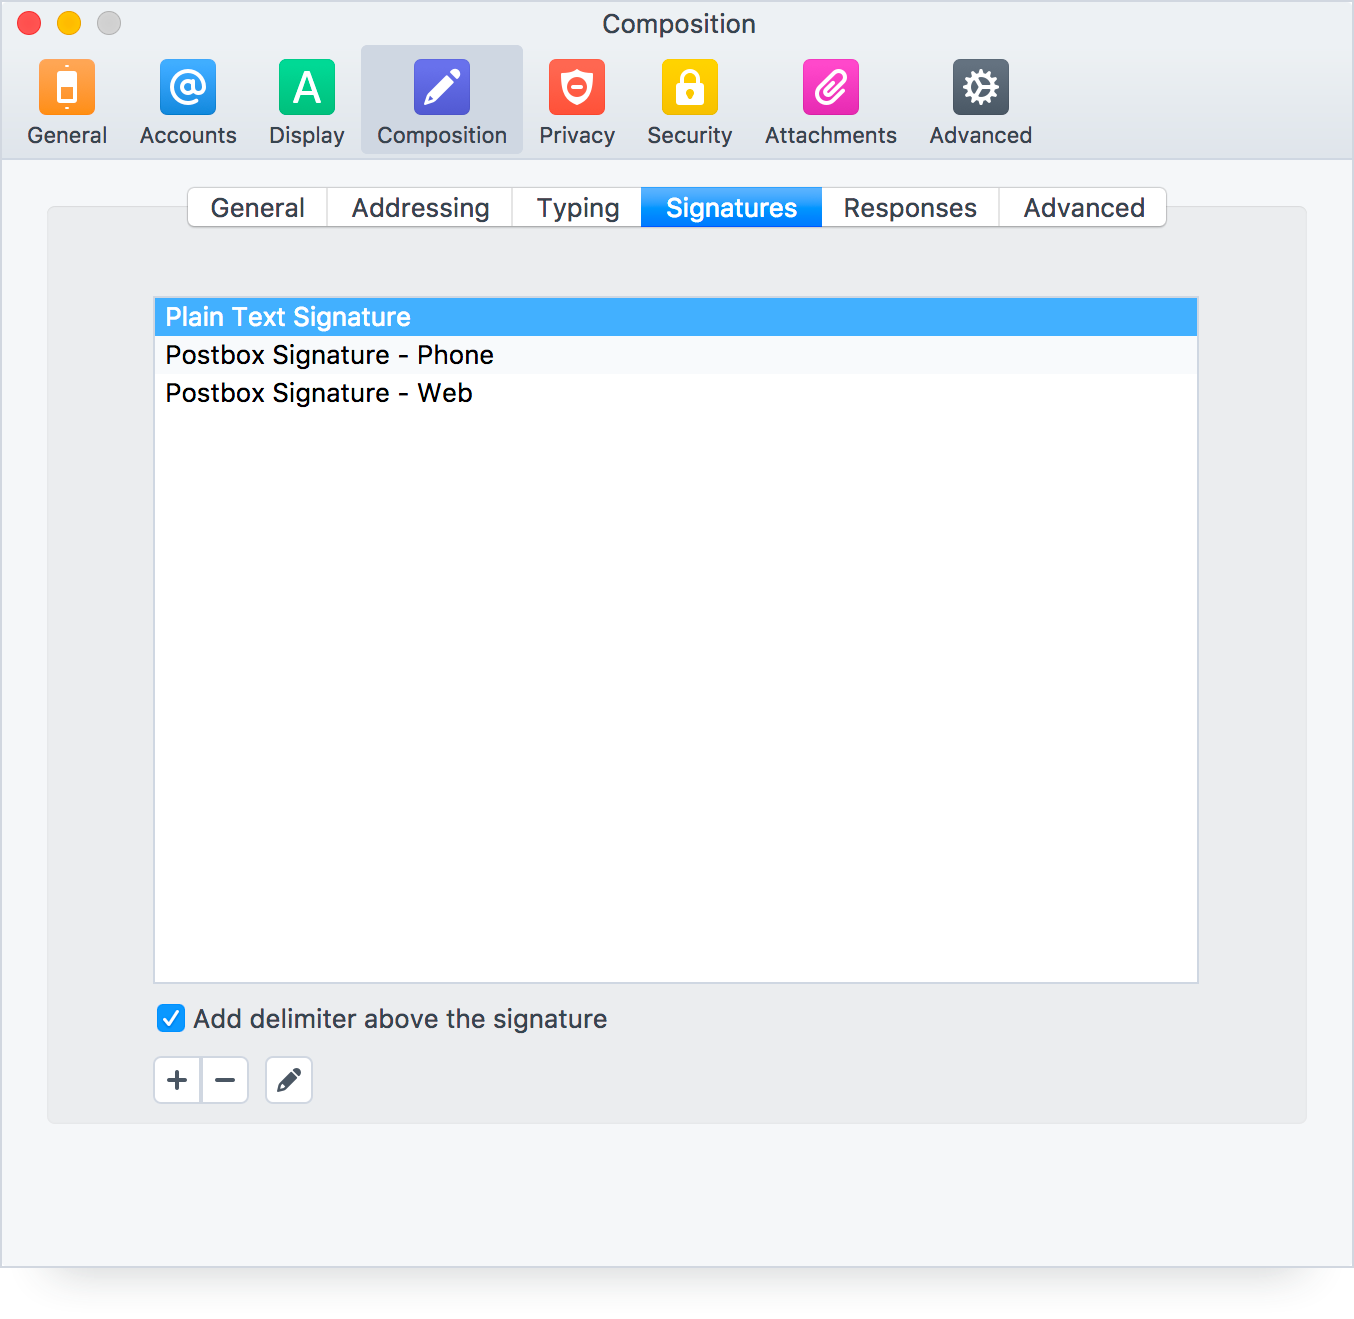
On macOS: Preferences > Composition > Signatures
On Windows: Tools > Options > Composition > Signatures
Next, click the Add or + button to open the editor dropdown. Create your signature and use the formatting buttons to style your entry. You can create additional signatures by simply clicking the Add or + button again. To edit an existing signature, click the Pencil button below the list.

Note: To add a link to your signature as you're editing it, click the Link button and enter the URL (including "HTTP://"), and then click OK.
If you'd like to add more style to your signatures in Postbox, the formatting toolbar provides options to change text size, color, decoration, and indent placement. However, if you would like further control, this can be achieved by editing the underlying HTML and CSS.
Editing the HTML and CSS
To customize the style of a signature:
- Go to Preferences > Composition > Signatures.
- Double-click on the signature you'd like to edit (or highlight the signature and click on the pencil icon at the bottom of the window).
- Highlight the entire content of your signature.
- Click on the "</>" button in the toolbar to edit the HTML tags and text.
If you are inserting an image into the signature and don't want it included as an attachment, it can be served remotely from a server. To configure this, add the moz-do-not-send="true" attribute to the img element. For example:
<img src="path/for/image.jpg" moz-do-not-send="true">
Setting a Default Signature
Each account or identity can contain one default signature. To set this, go to
On macOS: Postbox > Preferences > Accounts > [your account] > Identity
On Windows: Tools > Options > Accounts > [your account] > Identity
Then, find the Signature option and choose an existing signature in the list. Alternatively, to customize the signature per identity, click the Manage Identities... button below.
Signature Placement
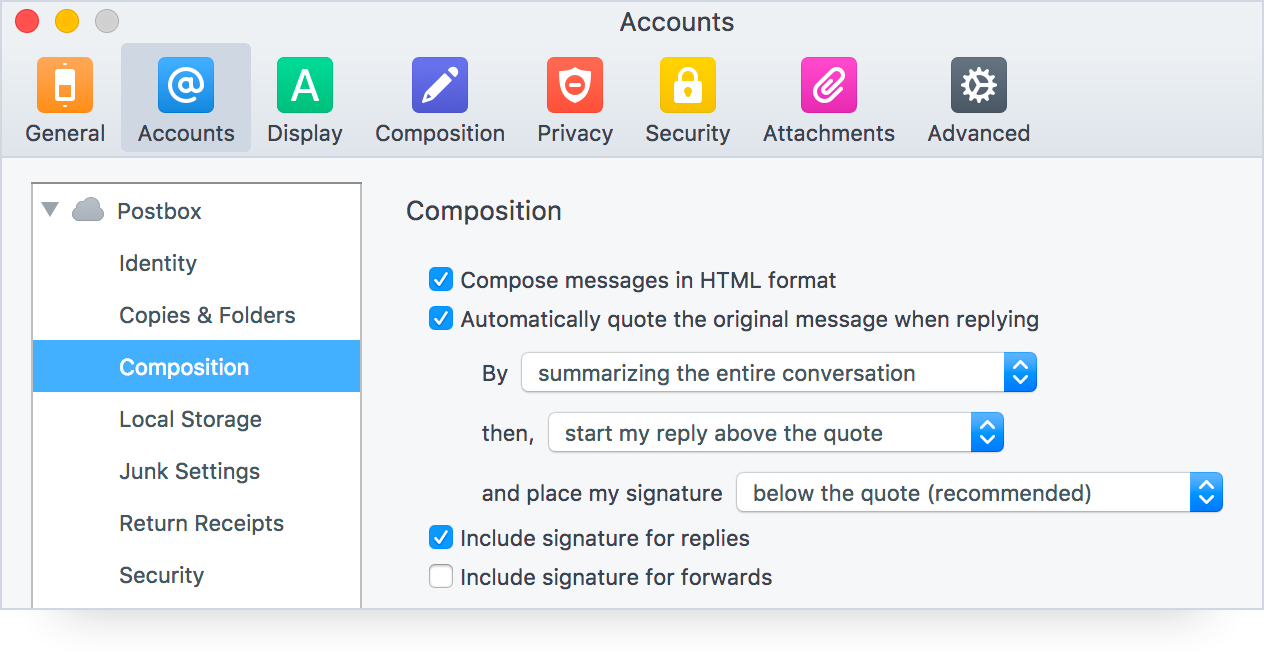
In the Composition preferences, you can further customize the signature behavior. You can find these options by going to:
On macOS: Preferences > Accounts > [your account] > Composition
On Windows: Tools > Options > Accounts > [your account] > Composition & Addressing

Adding Signatures to Messages
Postbox will automatically use your default signature when you create a new message. Use the Signatures toolbar icon to change the default signature, or to insert a new signature if one doesn't exist.
Inserting a Signature Using the Toolbar
Press and hold the Signature toolbar button to select your desired signature.
Inserting a Signature Using the Quick Bar
- When you’re writing a message in the Compose window, type command-L (macOS) or ctrl-L (Windows). The Quick Bar dialog opens.
- Start typing the name of the signature you want. Matching items appear as you type. To make it easy to get your hands on the thing you want, Postbox tells you whether each item is a signature, response, or topic.
- If the signature you want isn’t already selected, select it now with your mouse, or using your up/down arrow keys.
- Hit enter on your keyboard to insert the selected signature.
How to remove "--" Signature Delimiter
Go to Preferences | Options > Composition > Signatures and de-select the checkbox for "Add delimiter above the signature."
Signatures are Hidden in Conversation View
When viewing messages in Conversation View, by default the signature is hidden to keep the view clean. If you select a single message, then the signature will display normally.
If you wish to view signatures in Conversation View, navigate to Preferences | Options > Display > Conversations > and uncheck the option for Hide signatures.
Troubleshooting
Signatures insert HTML into messages. Poorly formatted signatures insert bad HTML into messages and could cause a variety of problems.
Here are some tips on how to debug issues with signatures:
- Ensure that the signature settings are correct in Preferences | Options > Accounts > [your accounts] > Identity. This panel drives how and where the signature is being placed.
- Use Quote Mode instead of Summarize until you have your signatures working as expected. Summarize dynamically constructs the HTML for digest view in outbound messages, and during troubleshooting, this variable should be eliminated from the equation.
- As a test, try creating the simplest signature possible, just one line of text with no formatting. Does the simple signature work, whereas the other signature does not? If yes, then this could indicate an issue with the other signature(s).
- Ensure your signature HTML is correct by clicking on the </> button in the Signature editor.
- Do NOT insert an image into a signature that is behind your secure corporate firewall! It will not work, and it could prevent messages from sending.
Related Articles